
TL;DR
- Harvest dill early in the morning or around 1:00 p.m. on sunny days for maximum flavor
- Dill can be stored through refrigeration, freezing, drying, or salt preservation
- Frozen dill retains its flavor for up to six months
- Air-drying dill takes about 1-2 weeks, while oven-drying at 180°F takes 2-4 hours
- When substituting dried dill for fresh, the general 1/3 rule may not apply as fresh dill is considered superior for cooking
Introduction
Dill, with its feathery fronds and unmistakable aroma, is a culinary superstar that deserves a place in every kitchen. This versatile herb can transform ordinary dishes into flavor-packed delights. But here’s the rub: dill’s delicate nature means it can wilt faster than you can say “dill pickle.” Fear not! We’re about to embark on a journey through the world of dill storage, exploring methods that’ll keep your dill fresh, flavorful, and ready for action.
From refrigeration to freezing, drying to salting, we’ll cover it all. You’ll soon be a dill storage maestro, armed with the knowledge to make your herbs last longer than ever. Ready to dive in? Let’s get started!
Harvesting Dill
Best Time to Pick
Timing is everything when it comes to harvesting dill. The best moment to snip those aromatic fronds is early in the morning, just as the dew evaporates. At this time, the essential oils are most concentrated, ensuring maximum flavor. Alternatively, you can place the stems in water for two hours before harvesting to achieve a similar effect.
Interestingly, harvesting dill on a sunny day around 1:00 p.m., when the plant has maximum oil content, may also contribute to its flavor.
Look for dill plants with lush, green foliage and stems that stand tall and proud. Avoid yellowing leaves or flowers unless you’re after dill seeds. For the most tender leaves, harvest before or as the plant begins to flower.
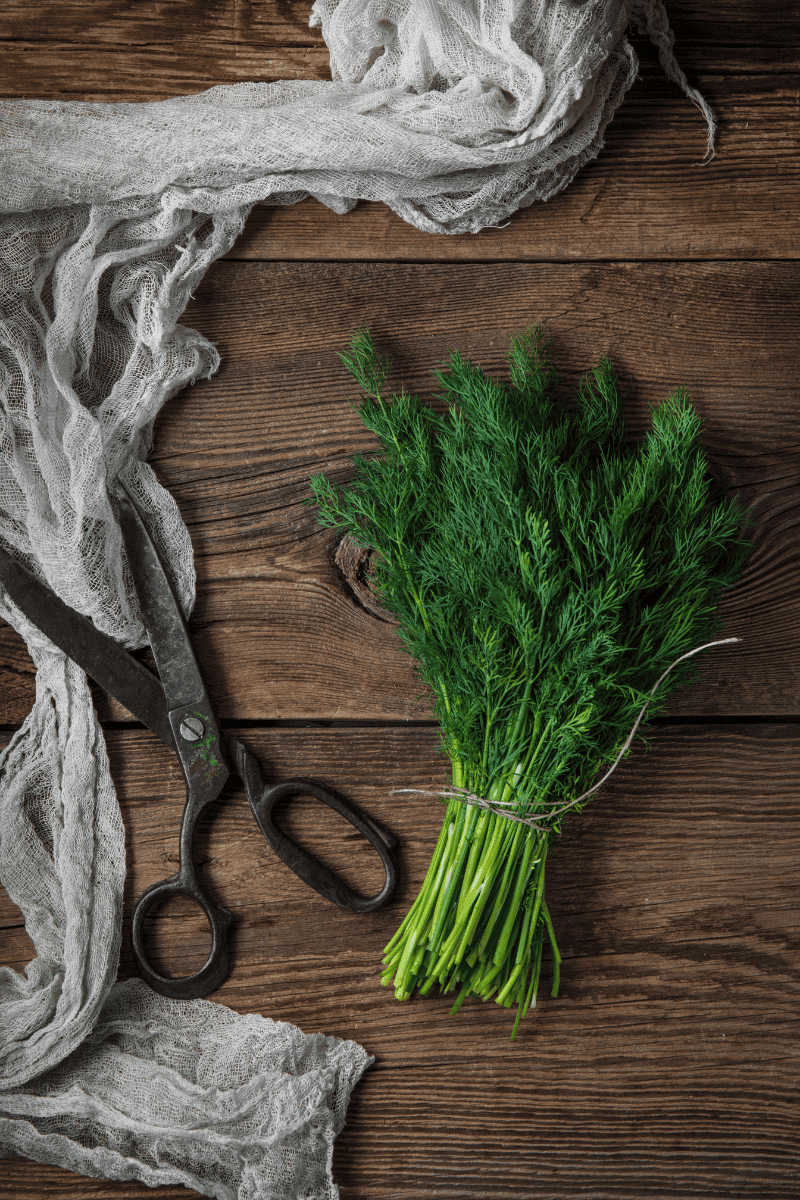
Proper Harvesting Techniques
Grab your sharpest scissors or pruning shears – it’s harvest time! Cut the stems close to where they branch from the main stalk. This encourages bushier growth and gives you more dill to enjoy later.
Be gentle as you handle the delicate fronds. Rough treatment can bruise the leaves, leading to faster deterioration. If you’re after dill seeds, wait until the flower heads turn brown and the seeds are visible. Snip off the entire seed head and hang it upside down in a paper bag to catch the seeds as they fall.
Dill leaves can be harvested once the fern-like leaves develop, which is about 8 weeks after planting, or as soon as the plant has four to five leaves.
Preparing for Storage
Before you stash your dill away, give it a spa treatment. Start by gently rinsing the stems and leaves under cool running water. This removes any dirt, bugs, or other uninvited guests that might spoil your harvest.
Next, shake off excess water and spread the dill on a clean kitchen towel. Pat it dry gently – remember, we’re dealing with delicate leaves here. For best results, use a salad spinner to remove water without damaging the fronds.
Inspect your dill closely. Remove any yellowed or damaged leaves. These party poopers can accelerate spoilage for the rest of your harvest. Once your dill is clean, dry, and pristine, it’s ready for its storage adventure.
Refrigerating Fresh Dill
Paper Towel Wrap Method
This method is perfect for short-term storage and easy access. Grab a sheet of paper towel and lightly dampen it – think morning dew, not soaking wet. Lay your dill sprigs on the towel, then gently roll it up like a herby burrito.
Slide your dill wrap into a resealable plastic bag, leaving one end slightly open. This allows for a bit of air circulation while preventing the dill from drying out. Pop it in the crisper drawer of your fridge, and voilà! Your dill should stay fresh for up to a week.
Pro tip: Check your dill wrap every couple of days. If the paper towel feels too dry, sprinkle it with a few drops of water to maintain the perfect moisture balance.
Container and Water Storage
For longer-lasting freshness, try the container and water method. Trim the ends of your dill stems and place them in a glass jar with about an inch of water, just like a bouquet. Cover the leaves loosely with a plastic bag, securing it with a rubber band around the jar.
Change the water every couple of days to keep things fresh. This method can keep your dill perky for up to two weeks. It’s also a beautiful way to store herbs – who says practical can’t be pretty?
Alternatively, use an airtight container lined with a damp paper towel. Place your dill inside, seal it up, and refrigerate. This method is great for small quantities and can keep your dill fresh for about a week.
Freezing Dill
Whole and Chopped Freezing
Freezing dill is like pressing the pause button on its freshness. For whole sprigs, arrange them in a single layer on a baking sheet lined with parchment paper. Pop it in the freezer until the dill is solid, then transfer to a freezer bag. Squeeze out as much air as possible before sealing.
Prefer your dill pre-chopped? Finely chop the leaves and pack them into an ice cube tray. Add just enough water to cover, then freeze. Once solid, transfer the cubes to a freezer bag. This method is perfect for adding a burst of dill flavor to soups and sauces.
Frozen dill will keep its flavor for up to six months. The texture will soften upon thawing, but the taste remains intact – perfect for cooked dishes.
Ice Cube Tray Method
Let’s get creative with our ice cube trays! Fill each compartment about 2/3 full with chopped dill. Now, here’s where you can customize: pour in water, olive oil, or even melted butter. Each option offers a different flavor profile and usage.
Water-frozen dill is versatile and can be added to any dish. Oil-frozen dill is perfect for starting sautés or finishing off roasted vegetables. Butter-frozen dill? Imagine that melting over a perfectly grilled piece of salmon!
Once frozen, pop out the cubes and store them in labeled freezer bags. You’ve just created your own herb flavor bombs, ready to elevate any dish at a moment’s notice.
Drying Dill
Air and Oven Drying
Air drying dill is a time-honored tradition that fills your kitchen with a delightful aroma. Gather your dill into small bunches, tie the stems with string, and hang them upside down in a warm, dry, well-ventilated area. Cover the bunches with paper bags to protect them from dust. In about one to two weeks, your dill should be crisp and crumbly.
For a quicker method, try oven drying. Spread dill sprigs on a baking sheet lined with parchment paper. Set your oven to 180°F and arrange the herbs in a single layer. Bake for 2 to 4 hours, checking regularly and rotating the tray for even drying. Alternatively, you can set the oven to its lowest temperature (usually around 110°F) and prop the door open slightly, which typically takes 2-4 hours as well.
Quick Microwave Method
In a rush? The microwave method is your ticket to dried dill in minutes. Arrange a single layer of dill sprigs on a microwave-safe plate lined with a paper towel. Microwave on high for 1 minute, then in 15-second bursts until the dill is crisp and crumbly.
Be vigilant with this method – the line between perfectly dried and burnt is thin. Let the dried dill cool completely before storing in an airtight container. While quick, this method may result in some loss of flavor compared to slower drying techniques.
Preserving Dill in Salt
Salt preservation is an old-school method that packs a flavor punch. Layer the bottom of a clean jar with salt, then add a layer of dill leaves. Continue alternating layers until the jar is full, ending with a layer of salt.
Seal the jar and store it in a cool, dark place. The salt draws out moisture from the dill, creating a flavorful dill salt. Use this in place of regular salt in recipes for an instant dill boost. The salt also acts as a preservative, keeping your dill usable for several months.
When you’re ready to use it, simply shake out what you need and return the rest to storage. Remember, this method intensifies the dill flavor, so use it sparingly in your cooking.
Using Stored Dill
Stored dill is a flavor powerhouse waiting to be unleashed in your kitchen. For dried dill, crumble it between your fingers to release the oils before adding to your dish. While the general rule is to use about 1/3 of the amount of dried herbs compared to fresh herbs in recipes, this may not be ideal for dill, as fresh dill’s flavor is considered superior for cooking.
Frozen dill can be added directly to soups, stews, and sauces without thawing. For other dishes, let it thaw in a strainer to drain excess water. Frozen dill works beautifully in dips, dressings, and compound butters.
Salt-preserved dill can be rinsed before use if you’re watching your sodium intake. Otherwise, use it as is, adjusting the salt in your recipe accordingly. It’s particularly delicious in marinades, rubs, and as a finishing touch for roasted vegetables.
Experiment with your stored dill in both hot and cold dishes. Try it in potato salads, cucumber pickles, fish dishes, or even in a refreshing summer cocktail. The possibilities are as endless as your culinary imagination!
Conclusion
Mastering the art of dill storage opens up a world of culinary possibilities. From the crisp freshness of refrigerated sprigs to the intense flavor of dried leaves, each method offers a unique way to enjoy this versatile herb. Don’t be afraid to experiment – you might discover a new favorite technique or recipe along the way.
Remember, the best storage method is the one that fits your lifestyle and cooking habits. So go ahead, stock up on dill, and let your herb-infused culinary adventures begin. Your taste buds are in for a treat!


Leave a Reply