
TL;DR
- Vanilla is the second most expensive spice after saffron due to labor-intensive processes and various external factors.
- Proper storage is crucial for maintaining the quality and potency of vanilla beans.
- Optimal storage conditions include controlling temperature, light exposure, air circulation, and humidity.
- Vanilla beans can last up to 2-4 years if stored properly, but it’s best to use them within 6 months to 1 year.
- Creative uses for vanilla pods include making vanilla sugar, salt, and homemade extract.
- When sourcing vanilla beans, look for plump, shiny, and pliable pods with a rich aroma.
Table of contents
Introduction
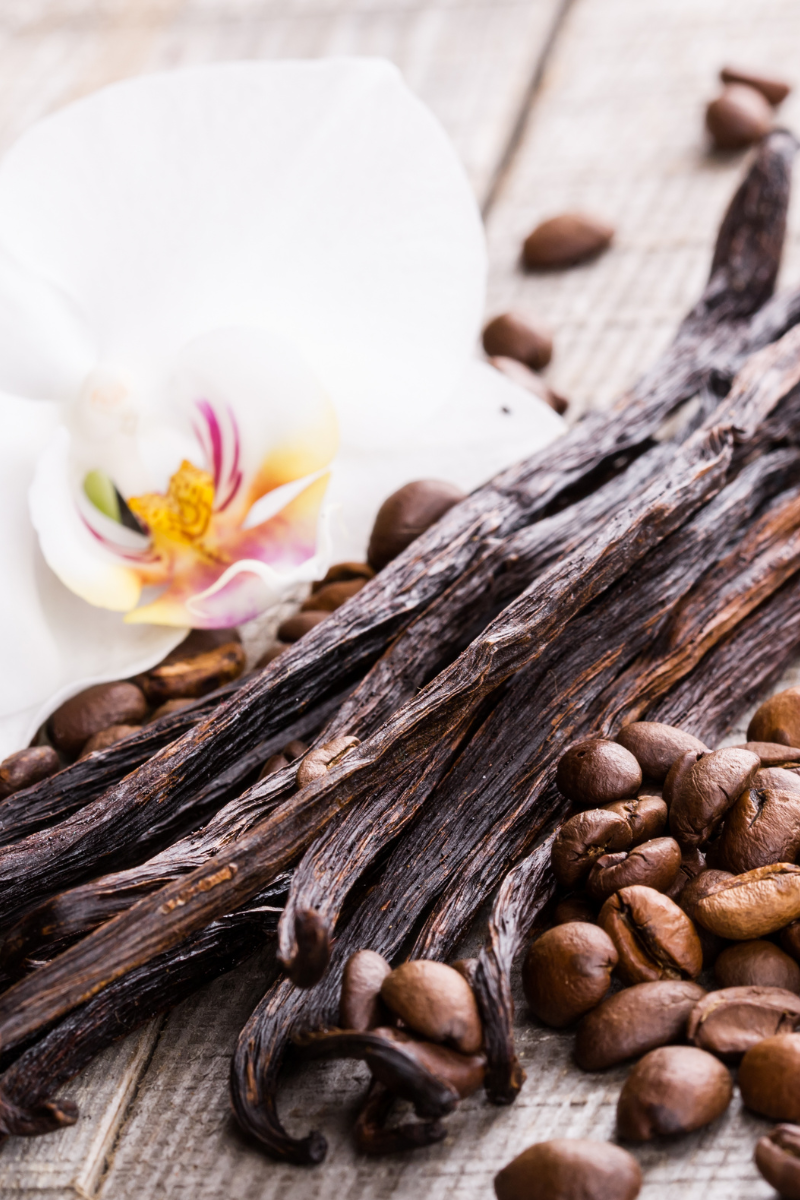
Vanilla beans have a rich history and are prized for their luxurious flavor and aroma. These slender pods are the fruit of orchids native to Mexico, and they’ve been used to flavor foods for centuries.
Today, vanilla is the second most expensive spice after saffron due to the labor-intensive process of hand-pollinating and curing the beans, as well as other factors such as weather events, supply and demand, and the limited lifespan of vanilla plants (1, 2, 3).
Proper storage is key to maintaining the quality and potency of your vanilla beans. In this guide, we’ll discuss optimal conditions, packaging methods, and troubleshooting tips to help you get the most out of these flavorful treasures. We’ll also explore creative ways to use every part of the bean and share a recipe for homemade vanilla extract.
Let’s get started!
Optimal Storage Conditions
Packaging Options
When it comes to storing vanilla beans, you have a few packaging options, each with pros and cons:
- Vacuum sealing: This method removes the air from the packaging to prevent oxidation and moisture loss. It requires special equipment and is best for long-term storage.
- Glass jars or containers: Airtight and moisture-proof containers are ideal, but they must be opaque to block light. These containers are ideal for medium-term storage and easy access.
- Plastic bags or wrap: This is a convenient and readily available option, but it may not be as airtight. It is suitable for short-term storage.
For optimal results, we recommend vacuum sealing for long-term storage and glass jars for regular use.
Environmental Factors
Vanilla beans are sensitive to their environment. Here are the key factors to control:
Temperature: Store beans between 60-80°F (15-27°C). Higher temperatures can cause the beans to dry out and lose flavor, while lower temperatures may cause moisture buildup and mold growth.
Light exposure: Keep beans in a dark place, as light can degrade their quality over time. If using glass jars, choose opaque or amber-colored glass.
Air circulation: While some air circulation is necessary to prevent moisture buildup, too much can dry out the beans. Vacuum sealing or airtight containers strike the right balance.
Humidity: Aim for 50-60% relative humidity. Too much moisture can lead to mold, while too little can cause the beans to dry out and become brittle.
Storage Duration
With proper storage, vanilla beans can last up to 2-4 years; however, using them within 6 months to 1 year is generally recommended. Even with proper storage, their quality will gradually degrade over time (4, 5).
To maximize shelf life, store beans whole and only split them when ready to use. Check beans regularly for signs of degradation, such as dryness, brittleness, or loss of aroma. If you notice any mold growth or off smells, discard the affected beans.
Alcohol and Freezing Methods
For even longer storage, you can try one of these advanced methods:
Alcohol storage:
- Place whole or split beans in a clean, airtight glass container.
- Cover beans completely with unflavored vodka or rum (at least 70 proof).
- Seal the container tightly and store it in a cool, dark place.
- Beans will infuse the alcohol, creating a flavorful extract over time.
Freezing:
- Wrap beans tightly in plastic wrap or vacuum seal.
- Place wrapped beans in an airtight container or freezer bag.
- Store in freezer for up to 1 year.
- Thaw at room temperature before using.
Note that freezing may cause some texture changes, but the flavor should remain intact.
Troubleshooting Common Issues
Reviving Dry Beans
If your vanilla beans have dried out during storage, don’t despair! You can often revive them with this simple method:
- Boil water and pour it into a heatproof bowl.
- Place the dry beans in the bowl and cover tightly with plastic wrap.
- Let the beans steam for 10-15 minutes until softened.
- Remove beans from the water and pat them dry before using or restoring.
Keep in mind that revived beans may not be quite as plump or flavorful as fresh ones, but they’ll still work well for most recipes.
Vanillin Crystals and Mold
You may sometimes notice tiny white crystals on the surface of your vanilla beans. These are vanillin crystals, a natural compound that gives vanilla its signature aroma. The crystals are edible and a sign of high-quality, well-cured beans.
However, if you see fuzzy white or green growth, that’s mold – and it’s not safe to consume. Mold can occur if beans are stored in too-humid conditions or if moisture gets trapped in the packaging. If you catch mold early, you may be able to salvage the unaffected beans by wiping them down with vodka and re-storing them properly. But if the mold is widespread, it’s best to discard the batch.
Using Every Part of the Bean
Creative Uses for Pods
Once you’ve scraped out the flavorful seeds from your vanilla beans, don’t toss the pods! There are many delicious ways to use them, such as:
- Vanilla sugar: Bury spent pods in a jar of sugar to infuse it with flavor. Great for baking or sweetening coffee/tea.
- Vanilla salt: Chop pods finely and mix with flaky sea salt for a sweet-savory seasoning.
- Vanilla coffee: Add a pod to your coffee grounds before brewing for an extra flavor boost.
- Vanilla liqueur: Steep pods in vodka or rum to make your own vanilla liqueur.
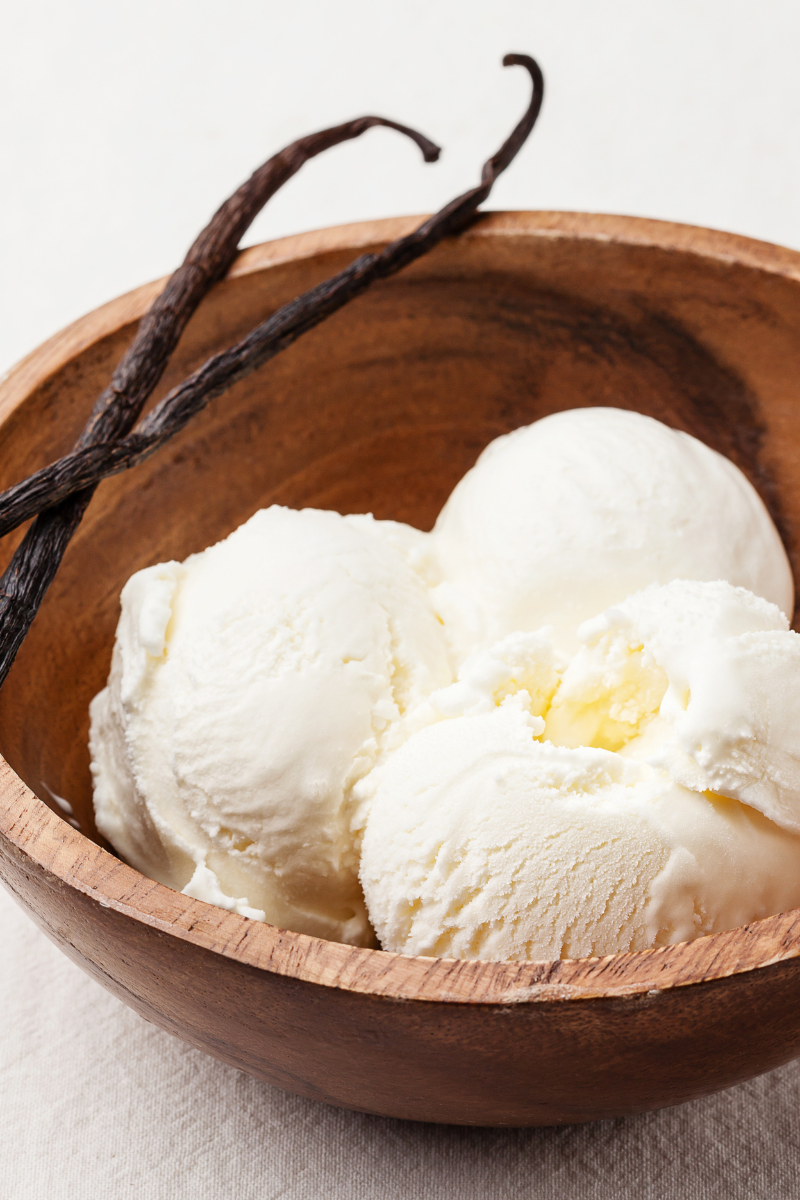
You can also simmer pods in milk or cream to infuse it with flavor before making ice cream, pudding, or pastry cream.
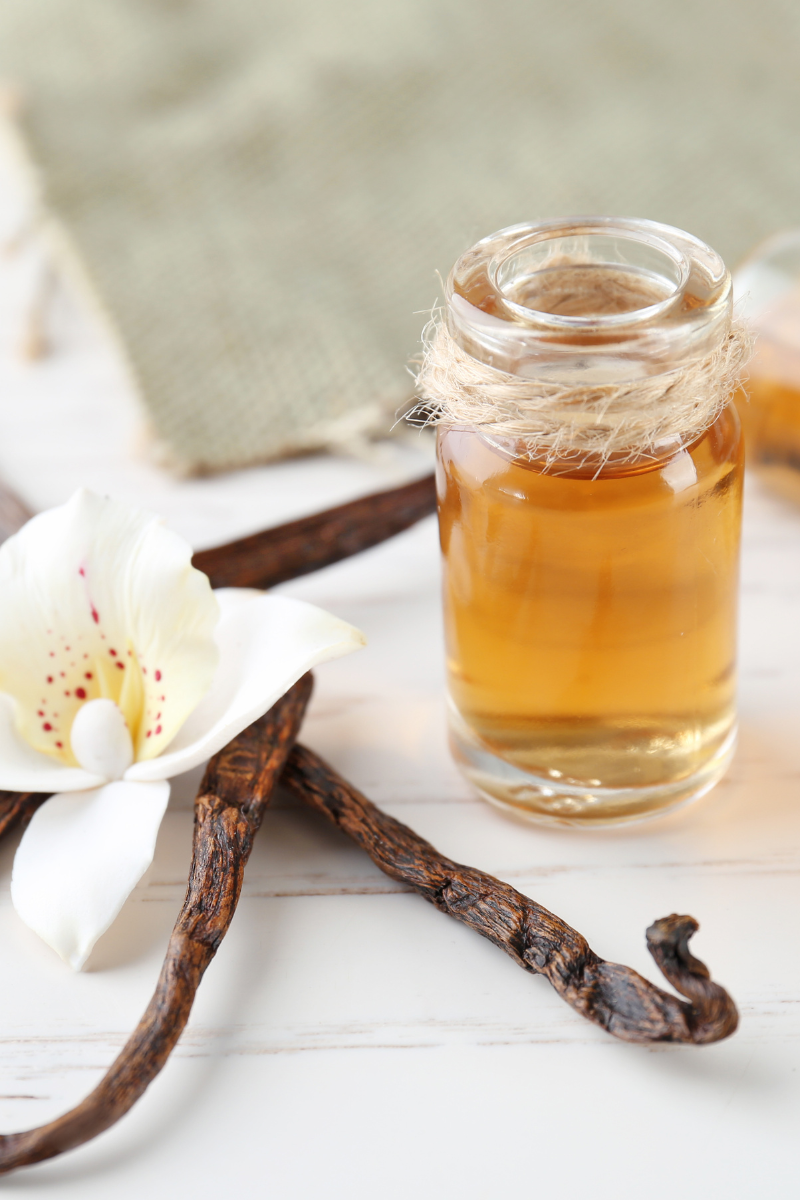
Homemade Vanilla Extract
Making your own vanilla extract is easy and economical. Here’s how:
Ingredients:
- 5-6 vanilla beans
- 1 cup vodka or rum (at least 70 proof)
Instructions:
- Use a sharp knife to split the vanilla beans lengthwise, leaving them attached at one end.
- Place the split beans in a clean glass jar or bottle.
- Pour the alcohol over the beans, making sure they are fully submerged.
- Seal the jar tightly and give it a shake.
- Store the jar in a cool, dark place for at least 2 months, shaking occasionally. The longer it steeps, the stronger the flavor.
- Once the extract reaches your desired potency, strain out the beans and decant the liquid into a clean bottle.
For an even richer flavor, try using a mix of different varieties of vanilla beans, like Madagascar Bourbon and Tahitian.
Sourcing Quality Beans
When shopping for vanilla beans, look for ones that are plump, shiny, and pliable – not dry or brittle. High-quality beans should have a rich aroma and a slightly oily surface. Avoid beans with blemishes, mold, or signs of dryness.
Some trusted suppliers of vanilla beans include:
- Beanilla
- Nielsen-Massey
- Vanilla Queen
- Vanilla Saffron Imports
Buying in bulk can often save you money in the long run. Split and share a larger quantity with fellow vanilla-loving friends, or make big batches of extract to give as gifts.
Conclusion
Vanilla beans are a precious ingredient that can elevate all sorts of sweet and savory dishes. By understanding the proper storage techniques, you can protect your vanilla stash and enjoy its luscious flavor for months or even years to come.
Remember to control the key environmental factors, choose appropriate packaging, and check your beans regularly for any signs of trouble. And don’t forget to use every last bit of those beans – the possibilities are endless!
Most importantly, have fun experimenting with vanilla in your cooking and baking. A well-cared-for vanilla bean is a joy to use and savor. With these tips in your pocket, you’re well on your way to becoming a vanilla virtuoso.


Leave a Reply